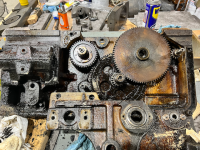
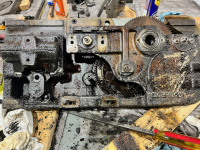
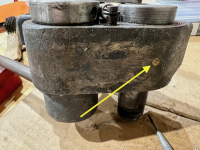
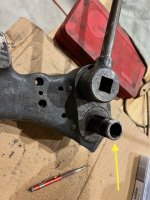
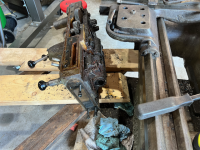
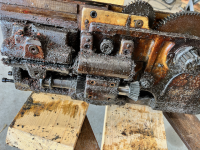
Finding some more time to tear down the lathe. Was able to get the apron off this afternoon. Pretty sure it will need complete disassembly to get it clean. Any tricks to doing this or pretty much start removing bits?
I just lubricate my thread dial with way oil. I prefer to use Schaeffer 160 Moly lube on all my machines. It is an ISO 68 oil. It has all the original tackifiers of the old way oils – which is a fancy way of saying it sticks to things. It also has a little moly in it. When you put the stuff in the machine, you can physically feel the friction reduction versus say a Mobil way oil. The only drawback I’ve found to this oil is its price. Even so, I think it is worth it on these old machines.
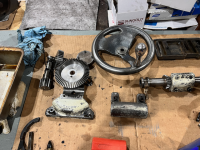
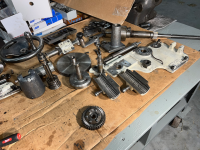
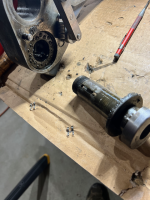
Regarding your question about disassembling your apron, for my machines that I disassemble, I start with a fresh piece of 4x8 particle board that I reinforce with 2x4’s to make a table. With something like the apron, I’ll draw an oversized picture of it on the particle board or sometimes I’ll lay down poster board to draw on.
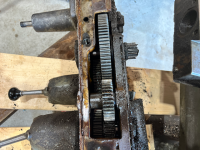
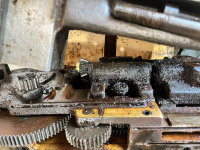
On most of the assemblies like the apron, you start the disassembly from the outside working in. On the inside of the apron, you start on the top and work down. When you take one of these things apart, you are not just trying to disassemble it, but you are also trying to establish an order of assembly. So when you pull a shaft and its gear assembly out of the apron, you reassemble in our hands in the same orientation as it was in the apron. Then take these parts and set them on the picture you drew of the apron in the location they came out being sure to keep the orientation on the drawing as it was in the apron. You also want to have the apron facing the same direction as your drawing so there isn’t any transposing.
Number each sub-assembly on your drawing in the order it was removed. When you get the apron completely disassembled, you’ll have a 1 through n list of sub-assemblies and their order of disassembly. When you are ready to reassemble, then you have the order to follow in reverse.
As you disassemble in this fashion, you may find out something else has to come off first. Be sure to go back and correct the numbering on your drawing.
For each of the sub-assemblies, you can clean every piece and part of the sub-assembly and then put the cleaned part back on the drawing (always careful to keep the orientation the same.) Sometimes, I will put the cleaned and reassembled sub-assemblies in zip-lock bags to keep contaminants out until assembly.
Tyrone Shoelaces once said there were only two rules on working on old machines. The first rule is don’t break anything and the second is don’t lose anything. This is so true; I’ve always remembered it.
I personally rarely take pictures as I find I don’t need them for reassembly because after you’ve cleaned, inspected, and repaired anything on these parts, you’ll know them by heart. And I’ve always found reassembly to be far easier than disassembly. However, pictures never hurt and I sometimes wish I had taken more. Not necessarily for assembly purposes, but they could sure help sometimes to better answer questions about the machine as years go by.
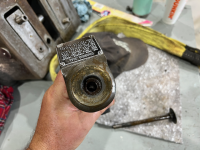
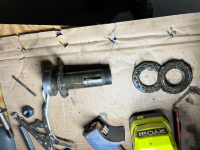
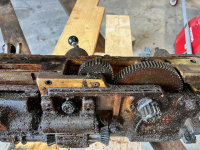
A couple things to check on while working on an apron would be the feather key inside the bevel gear housing that slides back and forth for feed directional change. This little feather key can wear depending on how hard the machine was used and the environment it was used in. If there is any visible wear, I change it. I also replace all the bearings in the apron. It’s usually not that expensive to do and in the Pacemaker’s case, they’ve been in there almost 80 years.
Amazingly even after 80 years and a world war, my machine had very little wear on anything in the apron.


")


") part of the old machine game...
part of the old machine game...