What's new
What's new

anchors in block and brick walls?

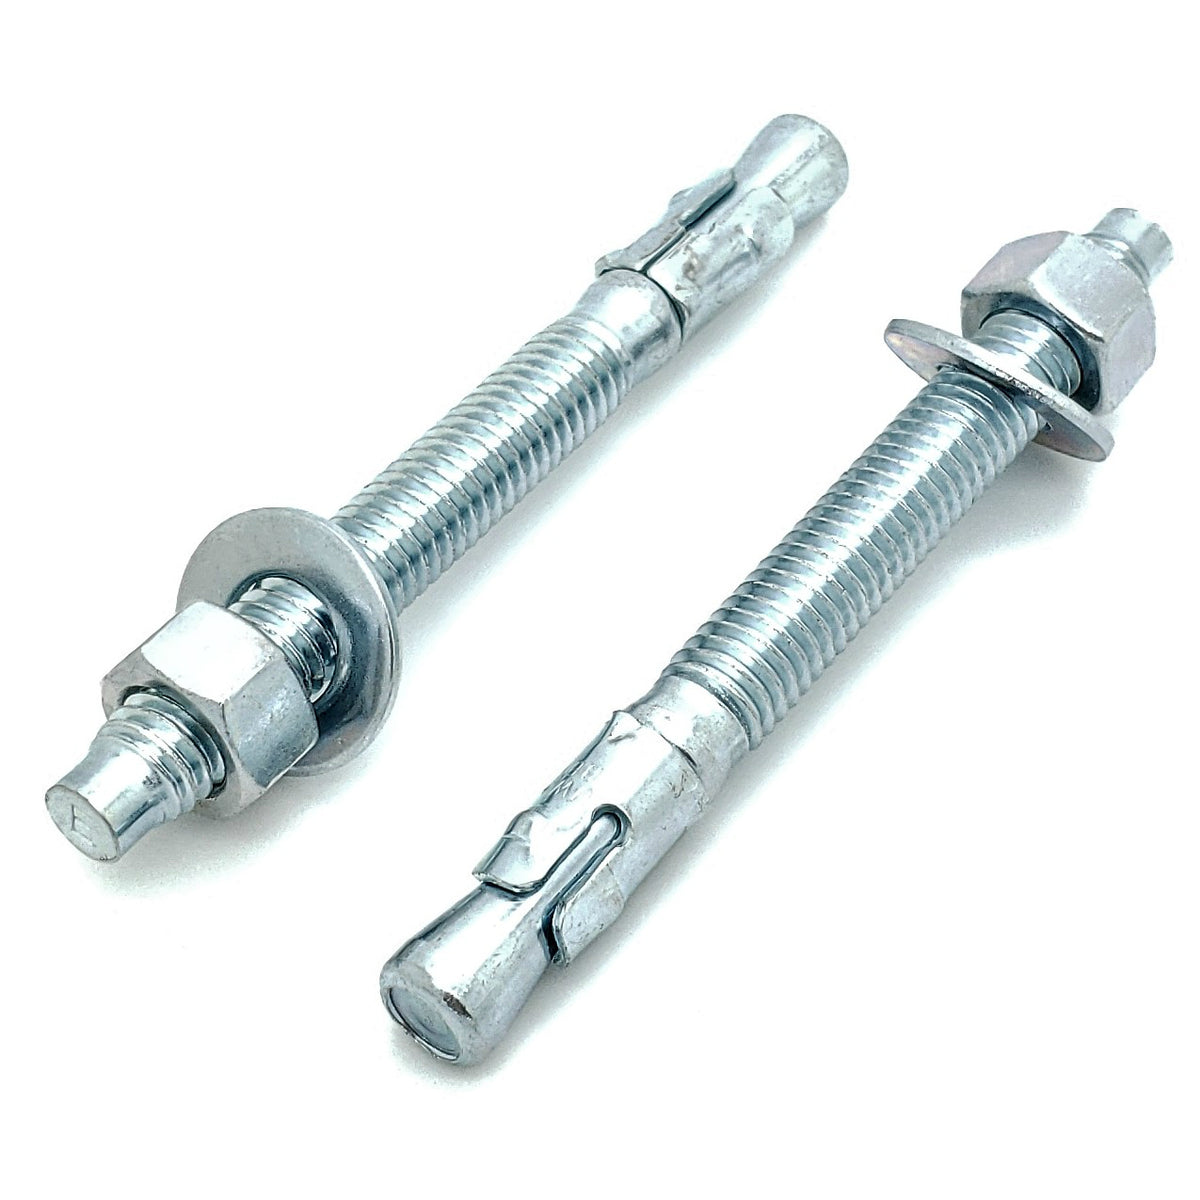
The chemical anchors are the right choice for anything !
A single 10 (12 mm?) mm steel stud is good for about 1-2000 kg(f) of pull force vertically from a hollow-block roof.
Using iirc a 16 mm hole and the right plastic thingy with the holes and the manufacturers goop.
I know that 200 kg loads hanging from a single bolt had zero movement and felt solid with jerk tests.

The manufacturer specs, as best as I recall, 1200 kgf for hollow blocks like roofs.
Any reputable manufacturer should serve you well, hilti, fischer, etc.

You can always try one, by hanging a load of steel stuff from a chain, supported by a hydraulic jack, and then lower the jack.
Industrial rules say that anything you work underneath and might cause death, or anything over 3-x m in height, must have a proof load or rated load of 10x the mass You want to hang.
I once built an amusement park ride .. the industrial inspector who came to certify it passed it first time -- but had already advised me on what to do or not do.

Basically, proving with a test load of 10x rated load, the structure is deemed "safe".
It essentially means You cannot be *successfully* sued if something goes wrong.

In practice I try to use 2 sizes bigger bolts for anything important, like anchoring the very expensive 80k demo sauna to the concrete platter.
Chemical anchors.
8 mm bolts would have been more than enough, but I used 12 mm 316L rods (special ordered), 4 per plate, 6 plates (200x200x20 mm), total 24 anchors.
Where the cost of the anchors was immaterial, relatively, perhaps 150 € +/- with maybe 5 tubes of adhesive, and the 80.000 € demo sauna needs to both be well built and also seem and look to be be installed in a superior manner ...

The 316L tie rods were not actually needed, but will never rust, here next to the sea, it´s a proof of how I build and make *expensive* things for those who want some and can afford them.
Likewise all bolts are special ordered from finland, double-dip hot galvanised, torx T20 / T30, and last forever with the siberian pine "siperian lehtikuusi" which is really dense, heavy, 400kg/m3, infused with resin and lasts 30 years++ outdoors even without paint.
Standard bolts/screws will fail inside the special wood within a few years, and will not be able to be extracted.
The resin corrodes them.

The saunas are made by salvos, www.salvos.fi, and I then do everything else, water, electrics, waste, showers, permits, install, import, unload whatever.
The sauna kit costs about 1/4-1/3 of the total project cost, for a massive, heavy, 130 mm thick large-beam setup, with laminated tempered multi-layer windows of 200 x 200 cm, with mirror coating.

I explain to clients that this sauna is really expensive -- day 0.
But whatever You spend, the value of Your house goes up by 2x of what You put in with salvos and me.
Endless discount options exist -- and workarounds for not putting in proper electric sub-panels, wastewater, showers, whatever.
But doing that the value of Your (expensive) house does not go up at all.
And I will not be involved in the process .. at all.

You DO get to use the discount sauna, and some are actually ok for use.

Since You ideally and legally mandated will put in the wastewater, showers, waterlines, electrics, permits, foundations, etc. saving pennies on structural stuff that needs to live for decades and pass a building codes review when You sell / appraise the thing - is less than optimal - for a big house of high value.
All my potential clients are in this bracket.

They prefer a superior product made in Finland, with a superior installation and fit/finish, with a price commensurate with that.
The sauna kit as such is quite cheap - starting around 14-16.000 € ...
Add size, 1000€, windows, 1400€, bigger beams, 1500€, transport - 6000 €, unload 3000€, electrics, 3000€, water 3000€, waste 3000€, install 8000€, fit/finish with fiber optic lights & paint inside (special wax) and out, 10.000 € ...
And "stuff" as a category for about 4000€.
Stuff always happens. Having the client know about in advance, is better, imho, ime.

I tell potential clients which of these options they would prefer I not do - so they can do themselves.
And why a,b,c is so costly especially fit and finish - endless hours of finicky work.
 
Well, I did say I had no experience with them. From the way you describe them, they do not rely on the sides of the hole so we are in complete agreement.

And thanks for the description of the fastener and process of it's installation. I learned something. Thanks!


The epoxy with screen tube or net bag does more than just hold to sides of the hole, the screen tube is the key here. Say the thickness of the cinder block is 1", the screen tubes (imagine a cigar sized single wrap of window screen, closed at one end & a flange on the other) anyway the screen tube is something like 3" long and it sticks through the block and into the void. You pump the epoxy into the screen tube and it goes all the way in, 3" and starts to come out inside the hollow area and there it makes a blob on the back side of the wall. It is also coming out inside the hole adhering to the bore of the hole also. The epoxy is pretty thick so it will not drip inside the wall. Once the screen tube is full of epoxy then you install your anchor which will displace some more epoxy out the screen, into the void. This generally will be stronger than the wall structure.
 
I also should have mentioned that it is very important to clean the dust out of the hole before doing any kind of epoxy anchor. Screen tube type or just simple all thread in concrete. The proper way is with a bottle brush and an air compressor with a long blow gun nozzle to get to the bottom of the hole. Scrub with bottle brush, blow out the dust from the bottom out, repeat until no dust blows out, then put in the epoxy and the anchor. You can even partly fill the hole with epoxy and use the anchor to work it into the walls of the hole, pull out the anchor, add a little more epoxy and re install the anchor. Doing multiples of the same anchor you should be carefull to drill all the holes to the same depth, then when doing the first anchor count how many pumps of epoxy it takes to have just enough to have a little extra but not running all over. Then it is really fast to just put 6 pumps or whatever is needed in each hole, ease in the all thread, giving it a few turns on the way in and move on to the next.
Anything structural or earthquake related will need to be inspected as you are doing it, this method is what they want to see happen.

edited for spelling
 
Last edited:
For zinc split anchors used with lag bolts, I have used WEST with either thick mix of cotton flocking, or sometimes mortar mix.
I blow out the hole as others have described with a tube/wand of sufficient length, then poke the epoxy in with flat stick ( to help scrape/squeegee/embed the sides) and stir it to coat and wick into the walls of the hole. Then push in the anchor, and apply the bolt.

If all the holes are pre-drilled & the masonry is essentially cold (e.g. not sun heated), you can fill quite a few holes with epoxy and anchors before there is any worry about setting. But keep your eye on them.

There are anchor systems i've used for government related projects attaching wood to masonry, for which the anchor hole is the same size as the shank hole in the wood. IOW, once the wood is in place, perhaps fastened with one anchor, the rest of the anchor holes can be drilled right through from the face with a suitably long drill bit. This does not add much shear strength for direct pull-out, but it does seem to prevent or minimize the anchors being worked loose from moderate stresses such as moderate wiggling of whatever is being attached.

For less critical anchors, i've also used polyurethane construction adhesive. (Not the cheap stuff, not filled, and nothing less than full poly)

If you run a full length 2 x 4 along the top of your verticals that is screwed to each one, it will help prevent catastrophic failure of any one alone.
If you want a belt and suspenders assurance, put some anchors through this, between the uprights. With or without relatively loose spacer blocks.
You can also smear the top, say, 2' of the verticals with the pure poly construction adhesive, for stabilization and a useful additional bond to the masonry.

PS 40 - 50 years ago i swore by Rawl products, they did not make any cheap products. Apparently now they do. But their anchor bolts still seem to be industrial quality. I would not use these in other than solid high strength concrete without epoxy fill, though. This is an example, they come in any length and diameter. Do not over-tighten when setting until the epoxy sets & be sure to seat them deep enough. They are not ideal anchors in CMU's by themselves


Also, this style which is designed more for CMU's:


There are other makers, such as Confast.

In the long ago "olden days" Rawl's jute fiber with lead/zinc core was failure proof if the hole was correct size. They would not pull before the fastener broke and they were very vibration resistant. The modern plastic versions are virtually useless and not even close to what the old Jute/metal core plugs would hold. & it was another system that you could essentially drill right through the face of the work, same dia drill for clearance hole for shank and bedding hole for anchor. OTOH, the old jute/metal plugs did have a learning curve. Easy to spread or shred before getting fully seated into the anchor hole.

smt
 
Last edited:
Richard,
I would use enough anchors to pull the 4x4s snug to the wall and mount the entire 4x4 to the wall with epoxy. Wire brush the mating part of the wall real well beforehand. It will never pull off unless the concrete comes with it. The epoxy that mixes in the nozzle would be real convenient.


Back
Top