What's new
What's new

Apron removal from a Clausing 6300

47Dlinn

Plastic
Joined
Mar 30, 2024
Location
Fingerlakes
Greetings, this is my first post.
I am trying to remove the apron from the carriage on my 6300, I need to tighten up the carriage gib, as there is up and down "chuck" of the carriage on the ways. I have removed the 4 large (3/8?) Allen cap screws and the apron won't budge. I removed the end cap from the lead screw and removed the carriage/apron assembly from the ways, and still can't get the apron to budge. I've used various non marring hammers to try to coax it free, to no avail. By the way, I am trained in the use of hammer applied force by way of working on old Harley's for many years. I've learned not to break stuff the hard way.
at any rate, from what I've read hear, it appears the only fasteners involved are the 4 Allen bolts. I've tried to remove the gib immediately in front of the apron without removing it, but there are clearance issues that prevent removing the Allen screws that hold it in place.
When tapping on the apron in attempting to free it up, the "ring" it gives seems solid.
Any ideas?
DL
 
47DLinn: Welcome to the forum. I assume that you are talking about a Clausing/ColChester 6300. Perhaps you can explain what you are referring to with "up and down "chuck" of the ways". Would the carriage move before removal of 4 capscrews? Can you bring us a little more up to date on what you have done? Have you removed the lead screw and the feed rod?
JC
 
Thanks all for the replies.
I have removed the carriage lock, etc. To be clear, the carriage/apron assembly is now sitting on my workbench, completely removed from the lathe. I do have a manual, it contains setup instructions similar to those posted, in addition it has a parts schematics giving a breakdown of all parts, including the schematic of the carriage assembly. As I noted in my previous post, I've removed the 4 allen head screws that supposedly are all that hold the apron to the carriage. The apron does not budge, even with moderate force applied.
The issue I'm addressing is looseness or "chuck" of the entire carriage assembly as it sits on the ways. In other words, as the carriage is resting on the ways, as it does in normal operations, if you grab hold of the entire apron assembly, or the hand wheel that is used to traverse the ways, or any part of the carriage assembly, or some part of it that will give you a good grasp of it, and lift vertically, the carriage assembly will rise off the ways, the front way in particular, approximately 20 to 30 thousandths.
Tightening the carriage lock will, of course, remove this play. Not a practical solution, naturally. :-) The manual shows a gib along the front of the carriage that rides on the underside of the front way and has shims. It would seem that if one reshimmed this gib the looseness could be removed from the assembly. However, it is inaccessible until the apron is removed.
And this is the crux of my problems. The Apron won't budge.
Thanks for reading through this dissertation.
D. .
 
Looking at the linked apron in post #4, it appears 4 bolts and 2 dowel pins are all that secures apron to carriage, does your apron look the same? If so, my guess is someone used a sealant/glue to hold them together. How about posting up some pics so we can see exactly what you are working on.
 
I would find a way to secure the saddle to something solid...like rock solid. Then I would put the four cap screws back in until they are just shy of fully seated...maybe an 1/8th of an inch or so. Then try a dead blow or go easy with a light hammer on the heads of the cap screws. If there's a sealant, or the pins are simply tight that should be enough to separate the apron.
 
I am not sure if that picture I swiped from a current ebay listing will stay or not. Anyone else is free to download it and get it to stay permanently.
BilL D
 
Thanks for all the replies. Indeed, I was the victim of some kind of sealant! After looking at the pictures of the unit on Ebay, I got out the 3lb leather dead blow hammer and started wacking, with the mounting screws just loosened a turn or two. Off she came, and I was able to shim the gib to take up the looseness.
Thanks all for the help!
D
 
While it is off is a good time to check the way wipers, half nuts and, any gear bushings in the apron. If it was supposed to have a paper gasket using sealant instead will affect the leadshaft alignment slightly.
Bill D
 
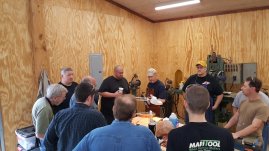
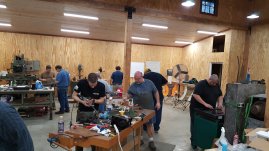
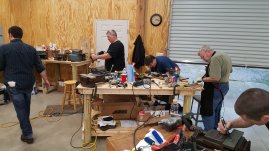
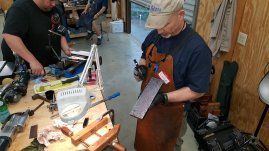
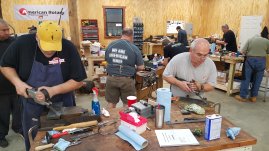
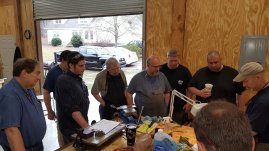
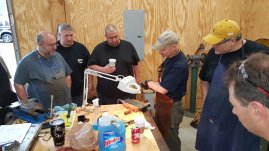
How is the rack pinion and rack look. Use a flash light and look at the rack. Up under the headstock and down near the tailstock end the rack will not be worn. Then look about 12" to 24" from the headstock end. That's where it's worn the worst. The teeth will be sharp. If they are I would order new ones. If not I would assemble the apron and saddle near the tailstock end and slide in plastic shim stock underthe 4 corners of the saddle (6 surfaces) then indicate the top of the cross-slide center top. Clearance surface so it's co-planer to the bedways. But a plastic shim assortment from Argus. You raise it until the rack and pinion turn with Clearance. Then epoxy on some Turcite.. Keith Rucker did a lathe saddle on his LeBlond lathe on YouTube. Basically the same procedure. Kieth took 6 of my classes. Pic's are a class he, Tom Utley, Adam Booth, John Saunders, Lance Baltzley plus other youtube people attended.
 

Attachments

  • 20170121_090404.jpg
    20170121_090404.jpg
    3.9 MB · Views: 2
  • 20170121_141620.jpg
    20170121_141620.jpg
    4.6 MB · Views: 2
  • 20170121_141657.jpg
    20170121_141657.jpg
    4.5 MB · Views: 2
  • 20170121_141648.jpg
    20170121_141648.jpg
    4.4 MB · Views: 2
  • 20170121_141730.jpg
    20170121_141730.jpg
    4.9 MB · Views: 2
  • 20170121_141713.jpg
    20170121_141713.jpg
    4.6 MB · Views: 2
  • 20170121_090353.jpg
    20170121_090353.jpg
    4.8 MB · Views: 2
  • 20170121_090337.jpg
    20170121_090337.jpg
    4.3 MB · Views: 2


Back
Top